Ryu Soo-young's Kimchi Jjigae (Kimchi Stew) for Singles
Chef Ryu Soo-young's simple yet deeply flavorful kimchi jjigae (kimchi stew) recipe, perfect for singles or students living alone.
📝 Editor's Notes
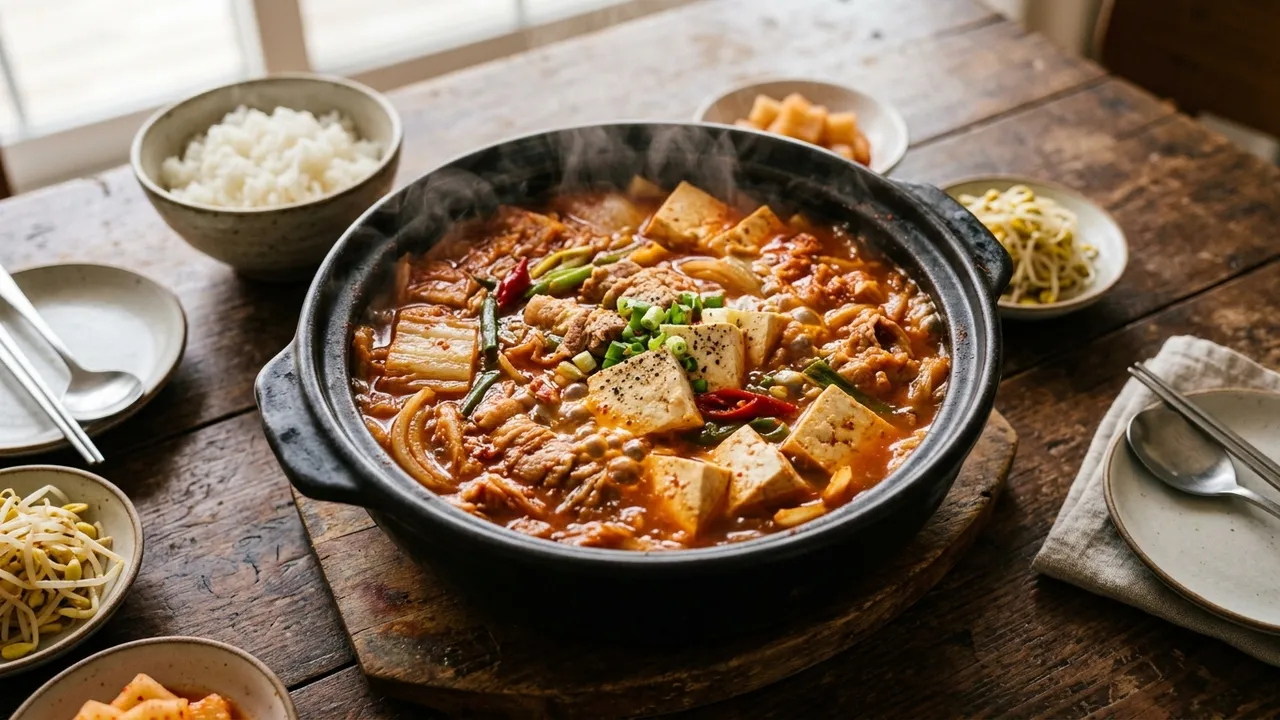
Chef Ryu Soo-young's Kimchi Jjigae for Singles, as its name suggests, starts with simple ingredients but boasts a profound depth of flavor. Its distinguishing feature is the long simmering time, which harmonizes the flavors of kimchi (김치) and pork. This recipe allows even novice cooks or busy singles to easily create a rich, restaurant-quality broth at home. When you crave a warm and hearty meal, or on a rainy evening, this kimchi jjigae alone will provide a satisfying dining experience.
🛒 Ingredient Tips
The core ingredients for this kimchi jjigae are, of course, kimchi (김치) and pork. It's best to use well-fermented, sour aged kimchi (묵은지) for optimal flavor. If your kimchi is too sour, you can adjust the acidity by adding a little sugar. Pork shoulder is used, which has an appropriate amount of fat to enrich the broth's flavor. If you prefer a richer, more savory taste, you can also use pork belly (삼겹살) or pork neck (목살). For garlic, mincing fresh whole cloves yourself will yield a much fresher and more abundant aroma.
🔄 Substitution Guide
Instead of pork shoulder, using fattier cuts like pork belly (삼겹살) or pork neck (목살) can yield a richer, more savory broth, though it may increase the calorie count slightly. If you don't eat meat, you can make tuna kimchi jjigae by adding a can of tuna, or enjoy it like Budae Jjigae (부대찌개) by adding ham or sausages. If you don't have or dislike tofu, you can add mushrooms or ramyeon noodles (라면 사리) for a different texture and flavor. If the kimchi (김치) is too sour, you can add a little sugar, or use less sour kimchi and add a touch of vinegar to adjust the acidity.
🥘 Ingredients
👨🍳 Cooking Points
The two most crucial points in this recipe are the 'seared soy sauce flavor' and 'sufficient simmering time.' First, after sautéing the pork and adding minced garlic, push the meat to one side and pour 2 tbsp of soy sauce directly onto the exposed hot surface of the pot, allowing it to slightly caramelize and create a fragrant aroma. This technique is key as it infuses the kimchi jjigae with a deep, rich soy sauce flavor, making for a much more delicious broth. Second, strictly adhere to the total 60-minute simmering time. The initial 40 minutes allow the kimchi and other ingredients to fully release their flavors, and adding the tofu and simmering for another 20 minutes completes the taste, which is the secret to this recipe. Adhering to this time is essential for the kimchi jjigae to achieve its proper flavor.
👨🍳 Directions
- 1
Chop the green onion into thin slices and julienne the onion.
- 2
Cut the tofu into bite-sized pieces.
- 3
In a hot pot with a little oil, add the pork shoulder and sauté until its fat renders and sizzles.
- 4
Add the minced garlic and sauté together. Then, push the meat to one side of the pot, pour 2 tbsp of soy sauce onto the exposed surface of the pot, and let it sizzle to develop its aroma before mixing it in.
- 5
Add 2 tbsp of gochugaru (고춧가루) and 750 ml of water, then add the sliced onion, green onion, and kimchi (김치).
- 6
Close the lid and simmer thoroughly for about 40 minutes.
- 7
After 40 minutes, once the kimchi is tender and the stew has developed a rich kimchi jjigae aroma, add the tofu and minced chili and simmer for another 20 minutes. Serve hot.
💡 Tips
When adding soy sauce, push the meat to the side of the pot and pour the soy sauce directly onto the hot surface of the pot. Allowing it to sizzle briefly before mixing it in will develop a deeper, richer flavor from the soy sauce, enhancing the overall taste of the kimchi jjigae.
Simmering for a total of 60 minutes (40 minutes + 20 minutes) is crucial. This allows the kimchi and other ingredients to cook thoroughly and meld their flavors, resulting in a kimchi jjigae that tastes as rich and delicious as those served in restaurants.
📦 Storage & Reuse
Leftover kimchi jjigae (김치찌개) can be stored in an airtight container in the refrigerator for 3-4 days. Kimchi jjigae often tastes even better the next day as the flavors deepen, making it delicious reheated. While freezing is possible, the texture of kimchi and tofu may change, so it's best to consume it as soon as possible. When reheating, warm it slowly over low heat, and if necessary, add a little water or broth to adjust the consistency. Remaining kimchi jjigae can also be stir-fried with rice to make Kimchi Bokkeumbap (김치볶음밥) or simmered with ramyeon noodles (라면 사리) for another delicious meal.
🥢 Who This Is For
This kimchi jjigae is highly recommended for busy singles or beginner cooks who desire a hearty and delicious meal. The extended simmering time yields an exceptional depth of flavor, making it suitable even as a dish for housewarming parties. It's incredibly delicious when enjoyed with a warm bowl of rice, and you can create an even more satisfying meal by pairing it with a fried egg, seaweed (김), or simple side dishes (밑반찬). Especially on a cold or rainy day, a warm bowl of kimchi jjigae can bring great comfort.
🔥 Nutrition Info
This recipe can generally be considered to serve 2-3 people. Estimating per serving (for one person), it is expected to provide approximately 250-300 calories. You can obtain about 20-25g of high-quality protein from the pork shoulder, and dietary fiber and Vitamin C from vegetables like kimchi (김치) and onion. Additionally, tofu supplements plant-based protein and calcium, helping to balance the nutritional profile. While soy sauce and gochugaru (고춧가루) add sodium and spiciness, the overall nutrient composition is sufficient for a hearty and well-balanced meal.
💬 Comments
No comments yet. Be the first to comment!